-
How to create an awesome burning text effectDung--[Photoshop]/Font Effect 2015. 2. 23. 16:05
Ok…let’s start!
Open this image in photoshop, then save the file as “fire_map.psd” and close it. We will use this PSD later as displacement map.
Now create a new document 1280 by 1024px.Fill the background with the black then type “Burning” using a nice bold font. Here i used “bebas“.
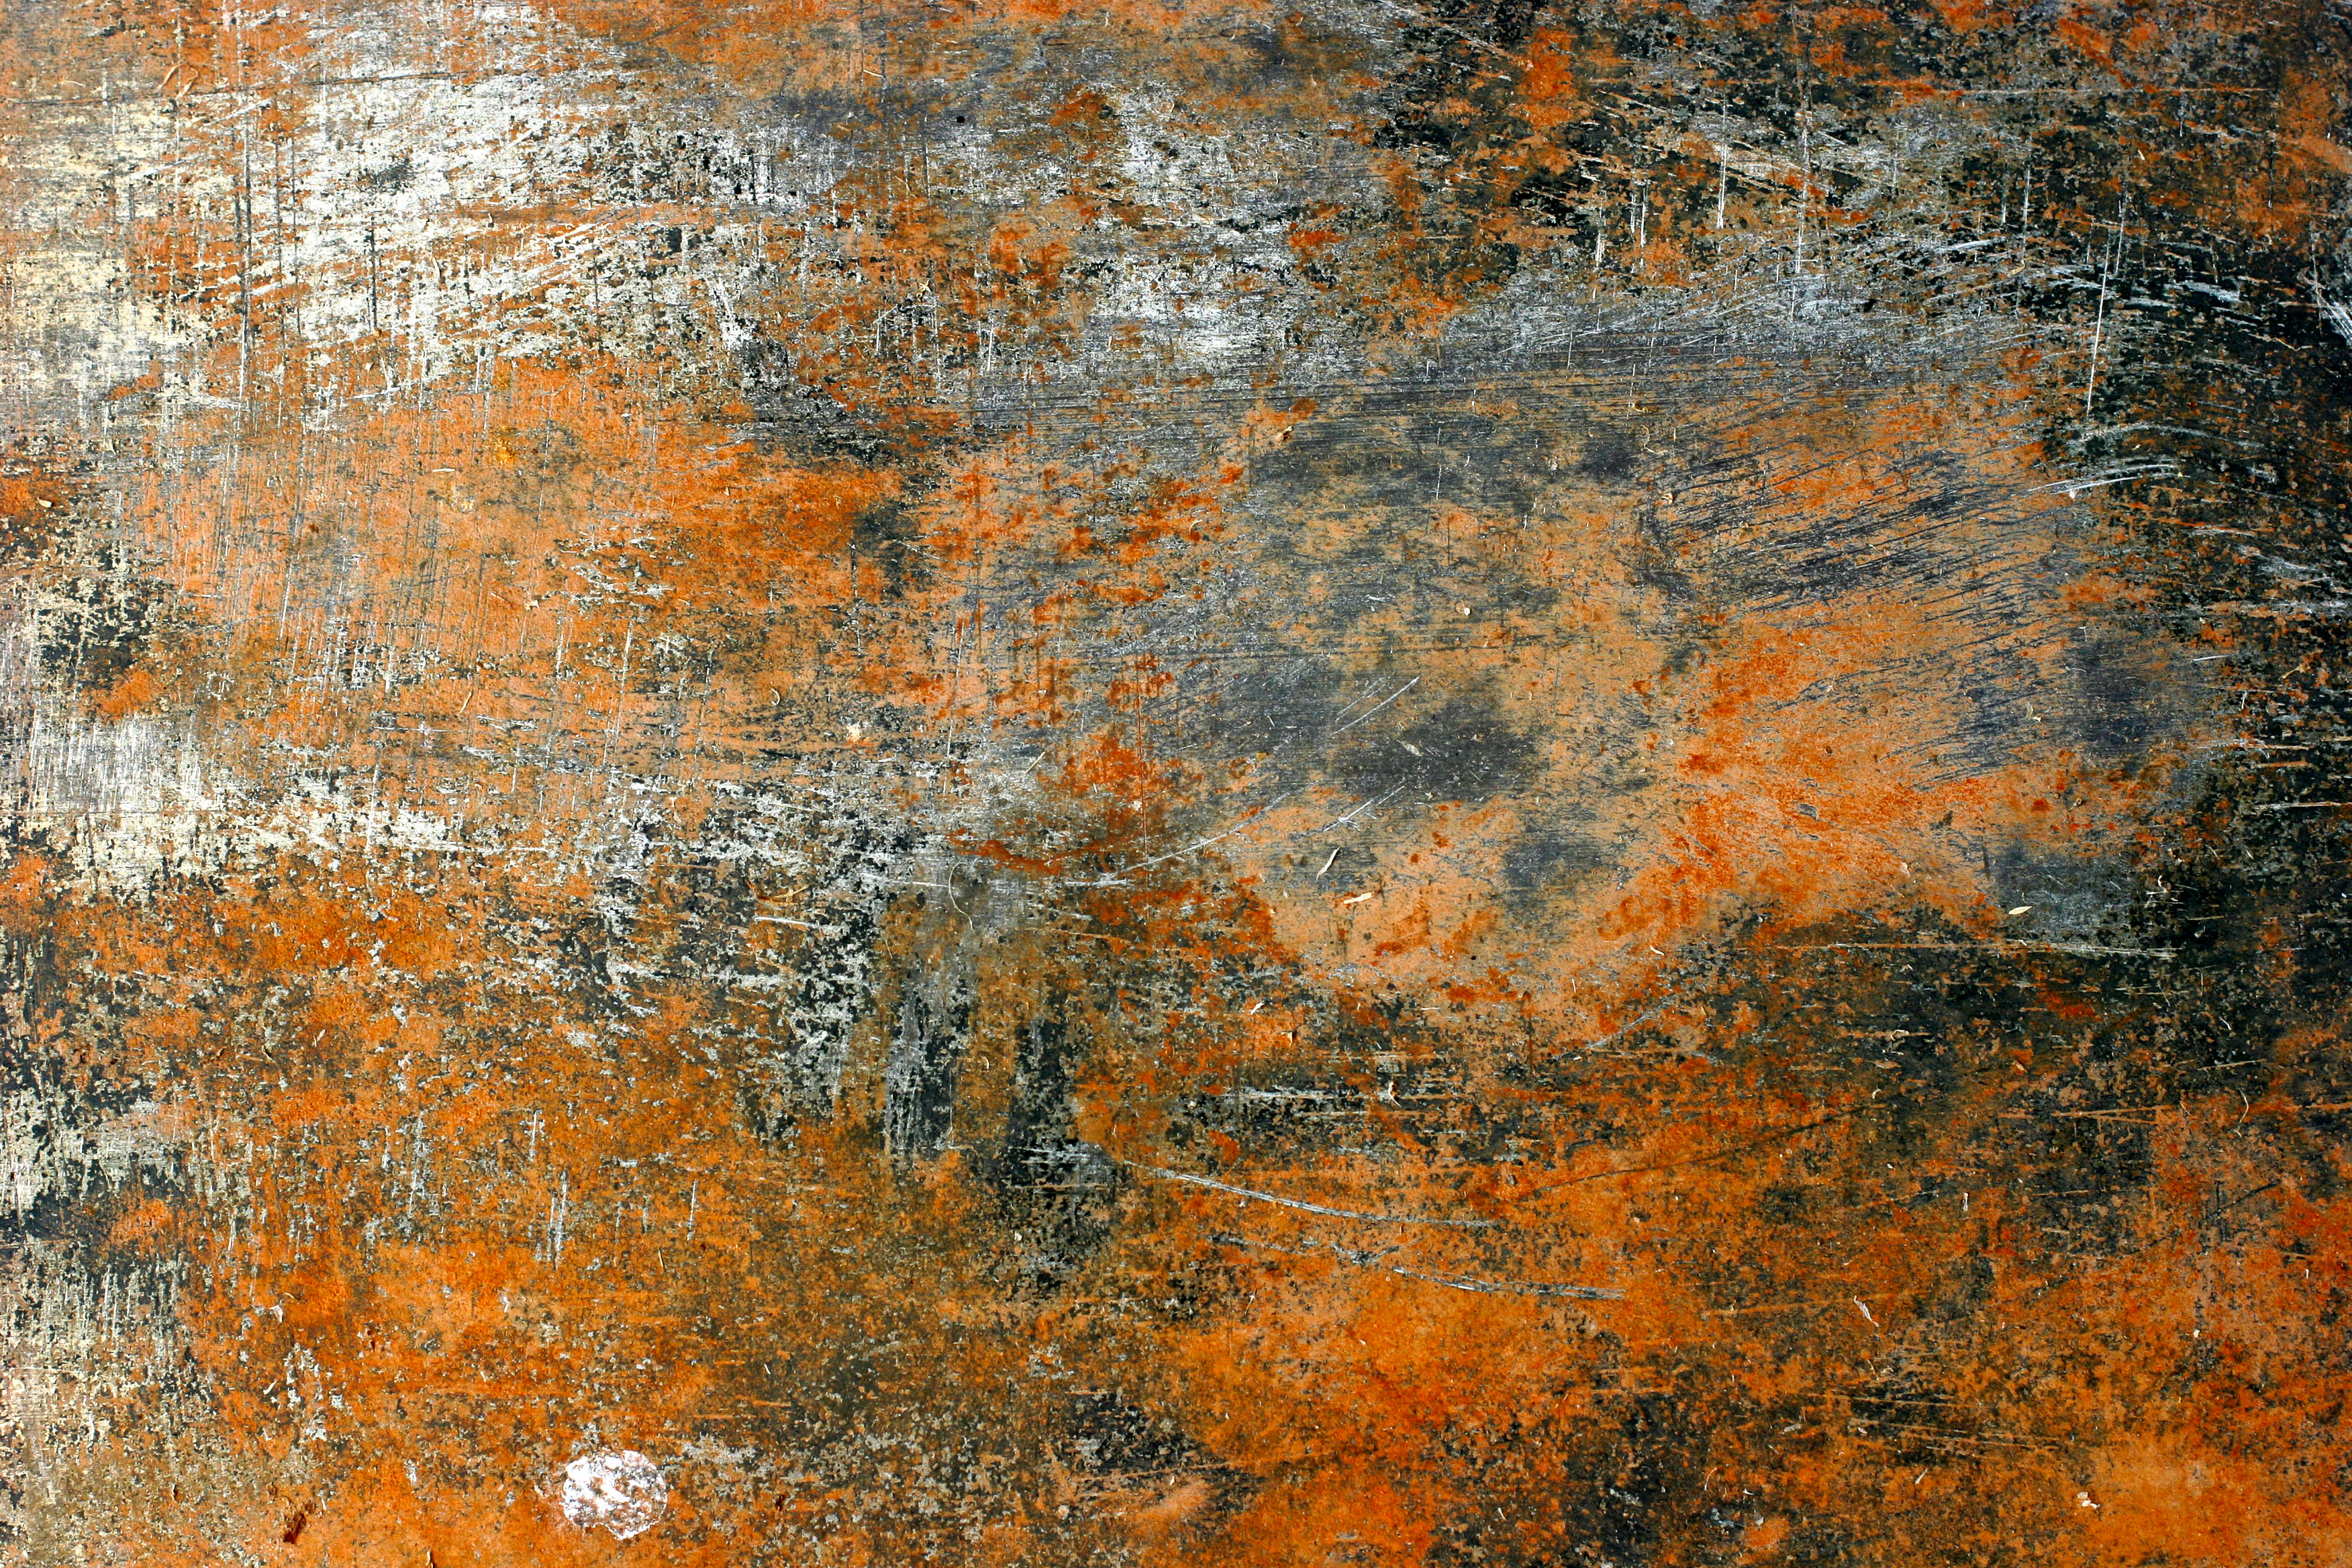
Then download this texture and place it inside our PSD. Resize it (“Edit > Free Transform”) if you want. Move the texture above the text layer.
Now create a clipping mask. To do this hold down Alt (Windows) or Option (Mac OS), move the pointer over the line in the layers panel dividing the text layer and the texture layer and click.
Double click the “burning” layer to open the layer style dialog box. Use these settings for the style “bevel and emboss”. The result is pretty cool.
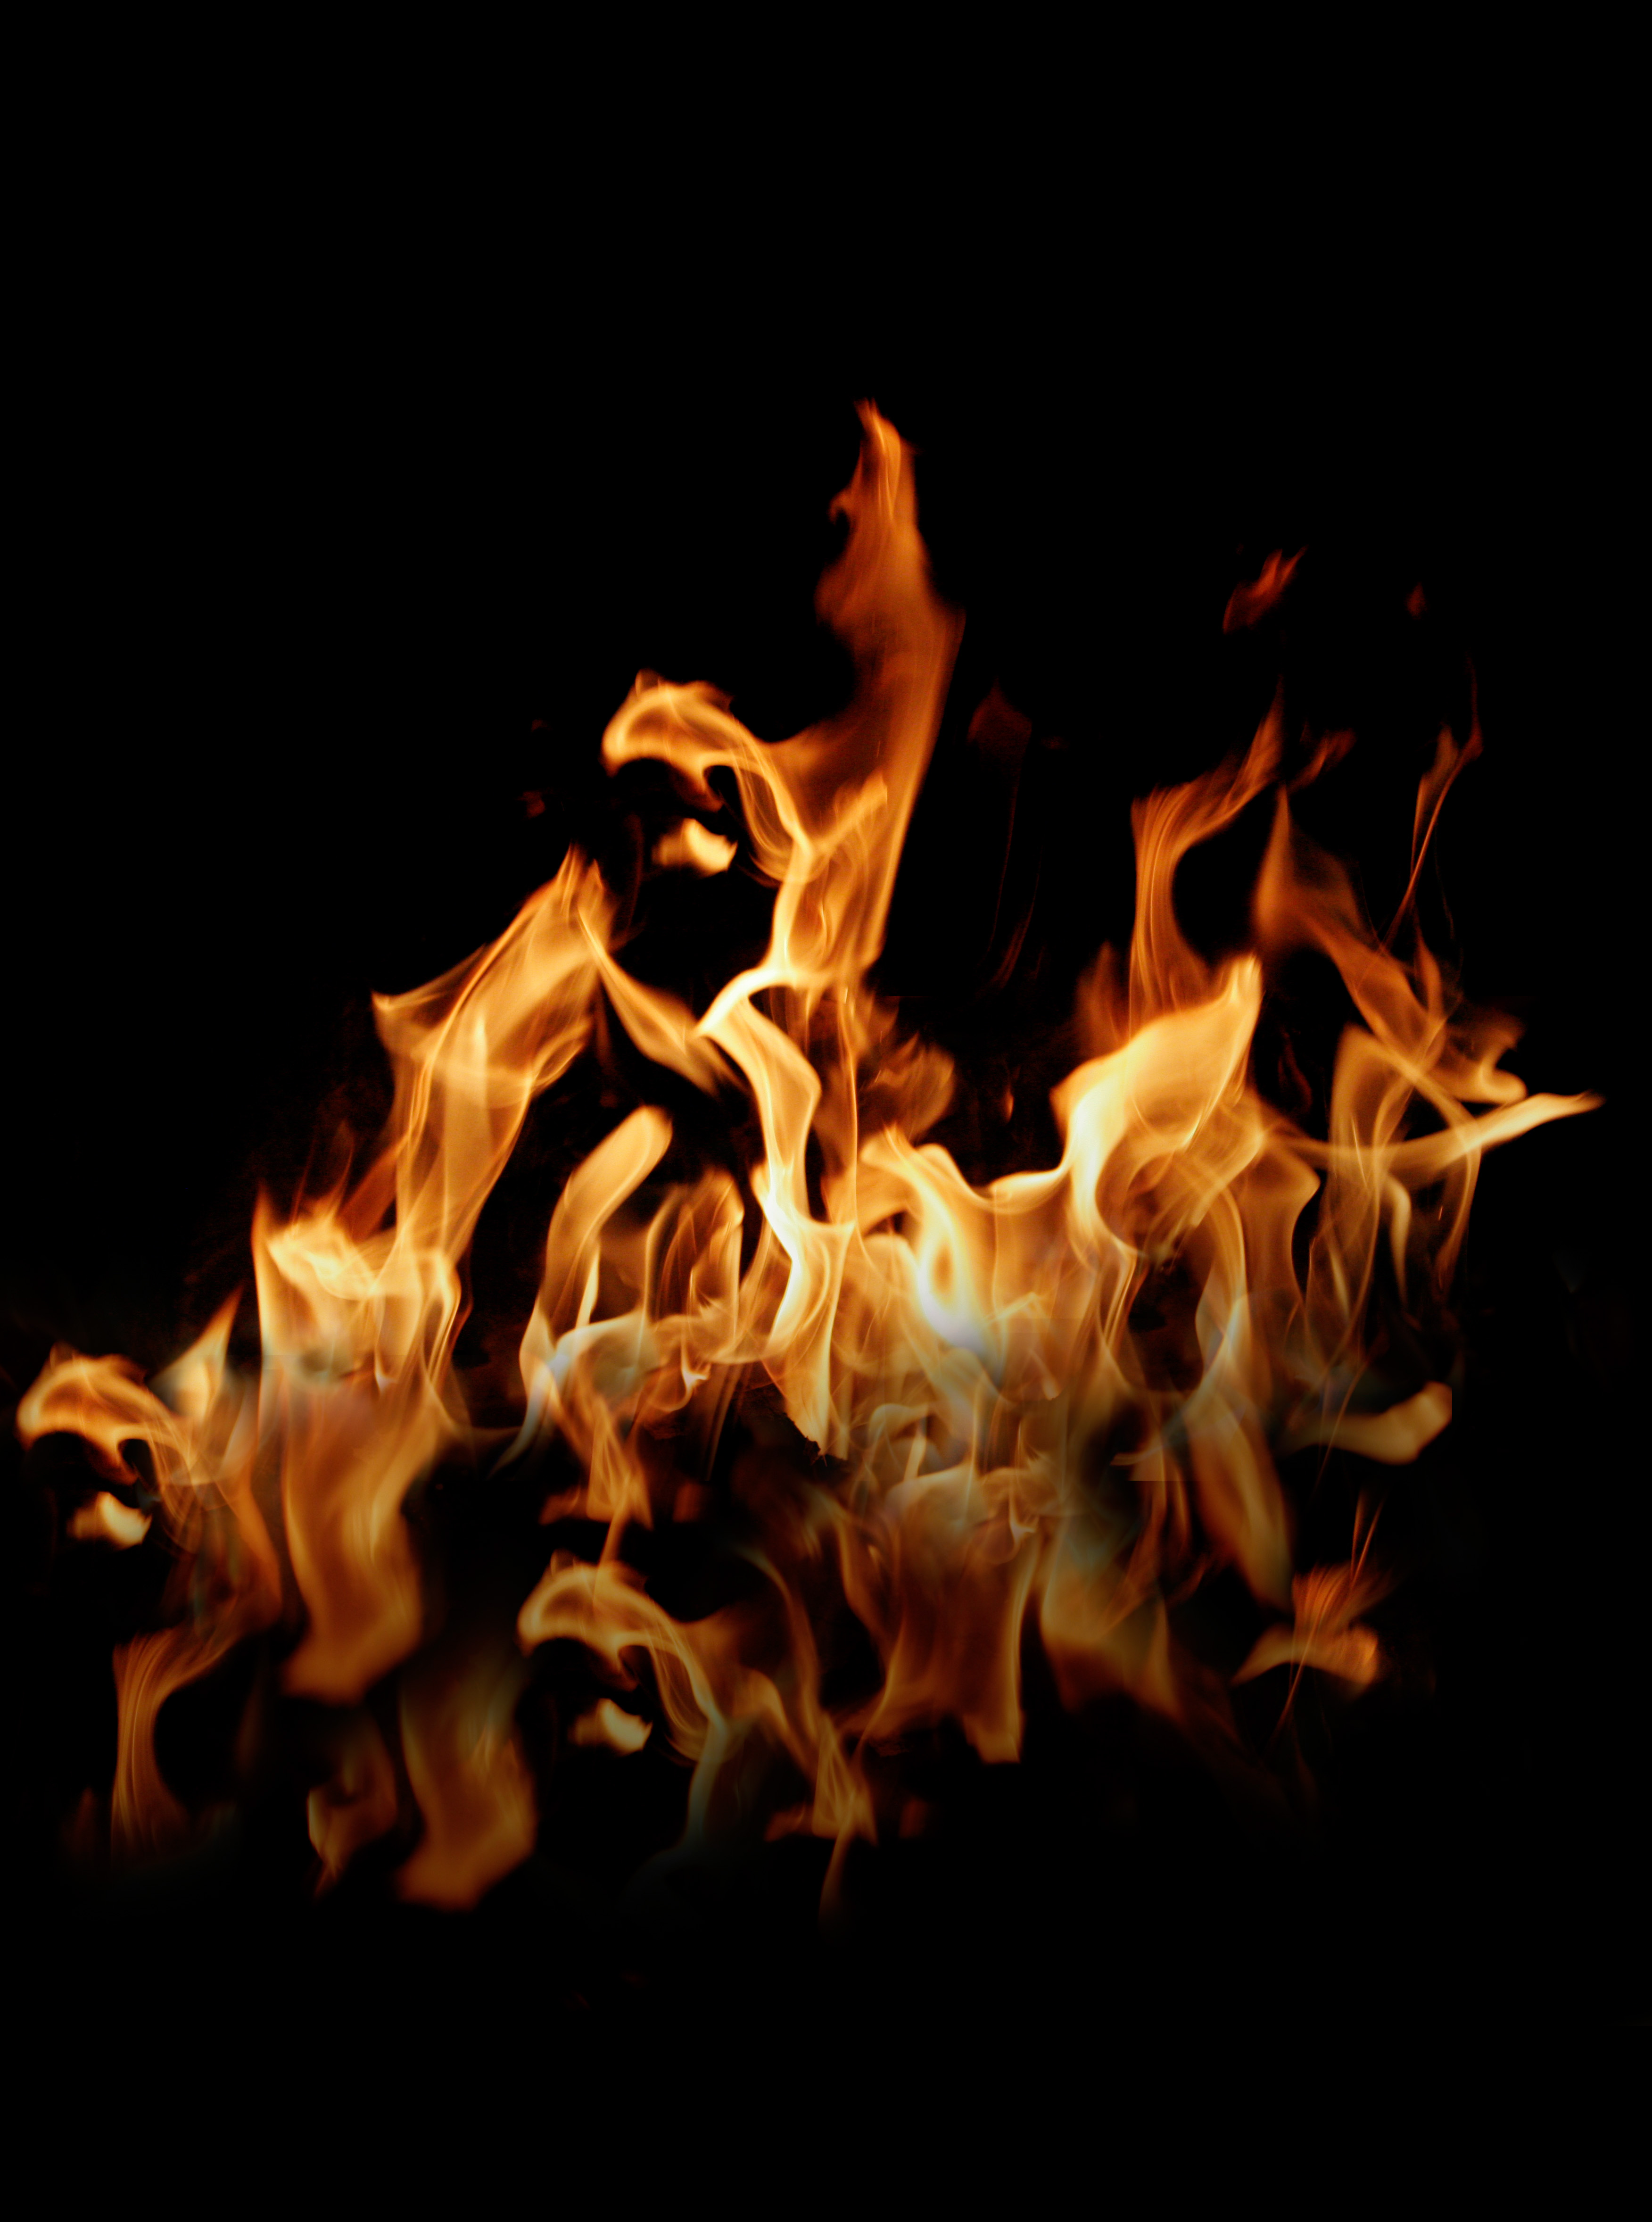
Now place the image of the fire as background. So simply place it below all the other layers and resize it with the free transform tool (“Edit > Free Transform”)
Ok, it’s time to rasterize the text layer. Select the layer “burning” and from the menu bar choose “Layer > Rasterize > Type”.
Then select this new layer rasterized and again from the menu bar choose “Filter > Distort -> Displace” and use the settings on the screenshot, then select “fire_map.psd” as displacement map.
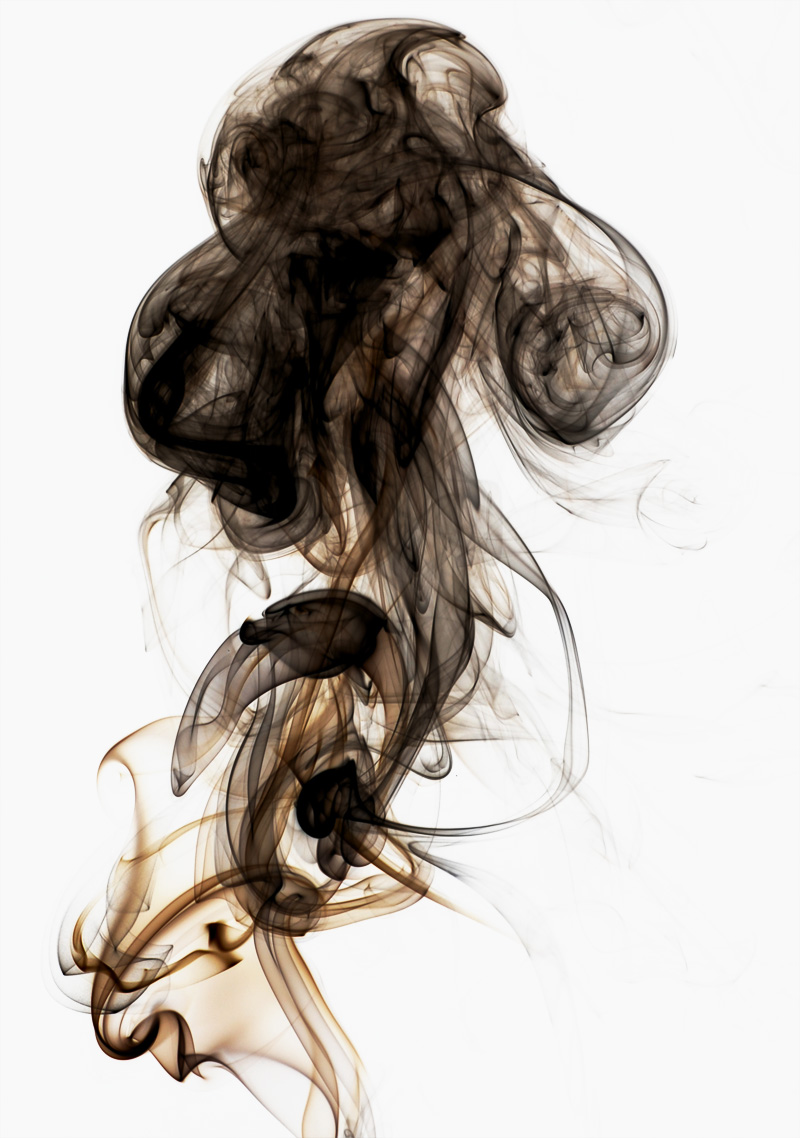
Select again the layer “burning” and switch from normal to “linear burn” in the blending mode options on the layers panel.Place the smoke image inside our PSD and change its blending mode from “normal” to “substract”.
You can play a bit with the smoke. You can apply a “motion blur” filter (“Filter -> Blur -> Motion blur).
Now do the same with another image of the smoke and place it in another position. Decrease the opacity on the layers panel if you like.
Create a new layer on the top of the layers panel. Use “Filter > Render > Clouds” and change its blending mode from “normal” to “overlay”
Time to place the flames. Move this image on the PSDs. Change the blending mode from “normal” to “screen” and adjust the image in the position you like.
Duplicate the flames (“cmd + j” or “ctrl +j”) and move this layer above the last letters of the word “burning” and use the warp tool (“Edit >Transform > Warp”) to change the aspect a bit.
See the screenshots below.Last step. On the layers panel, above everything add a “black and white” adjustment layer.
Copy these settings and change the blending mode from “normal” to “hard light”.Add also a “Brightness/Contrast” adjustment layer with these settings
And…we are done!!!
Here you can see the final result and here you can dowload the PSD. Enjoy ;)DISCLAIMER: The images displayed here are copyrighted by their respective owners and used just to create this tutorial\exercise without any commercial purpose.
'Dung--[Photoshop] > Font Effect' 카테고리의 다른 글
fire hell in photoshop (0) 2015.02.23 Realistic scorching fire effect in photoshop (0) 2015.02.23 Create Burning Typography with Sparkles Effect in Photoshop (0) 2015.02.23 3D Text On Fire (1) 2015.02.23 포토샵 글씨효과(텍스쳐 패턴적용) (0) 2015.02.23


